You can record your Mac without installing an app. Start with Screenshot, which is built into macOS.
Open the recording controls
Press Shift + Command + 5. Choose the whole screen or a selected area. Window recording is available on macOS 26 or later. Pick the view that shows the task without exposing unrelated work.
Set the sound, then record
Open Options and choose a microphone for narration. On macOS 27 or later, Include System Audio captures the Mac’s sound too. Click Record when ready. Stop with the menu-bar button or Command + Control + Esc.
These controls are described in Apple’s screen recording guide. If sound is missing, use our audio setup guide.
Check the saved file
Open the video and play it before sending it. Check the framing, sound and anything private that appeared on screen. A quick review is easier than recording the whole explanation again.
Can I use QuickTime instead?
Yes. In QuickTime Player, File → New Screen Recording opens Screenshot’s controls. Apple’s QuickTime guide explains that route.
When to use Moonshot
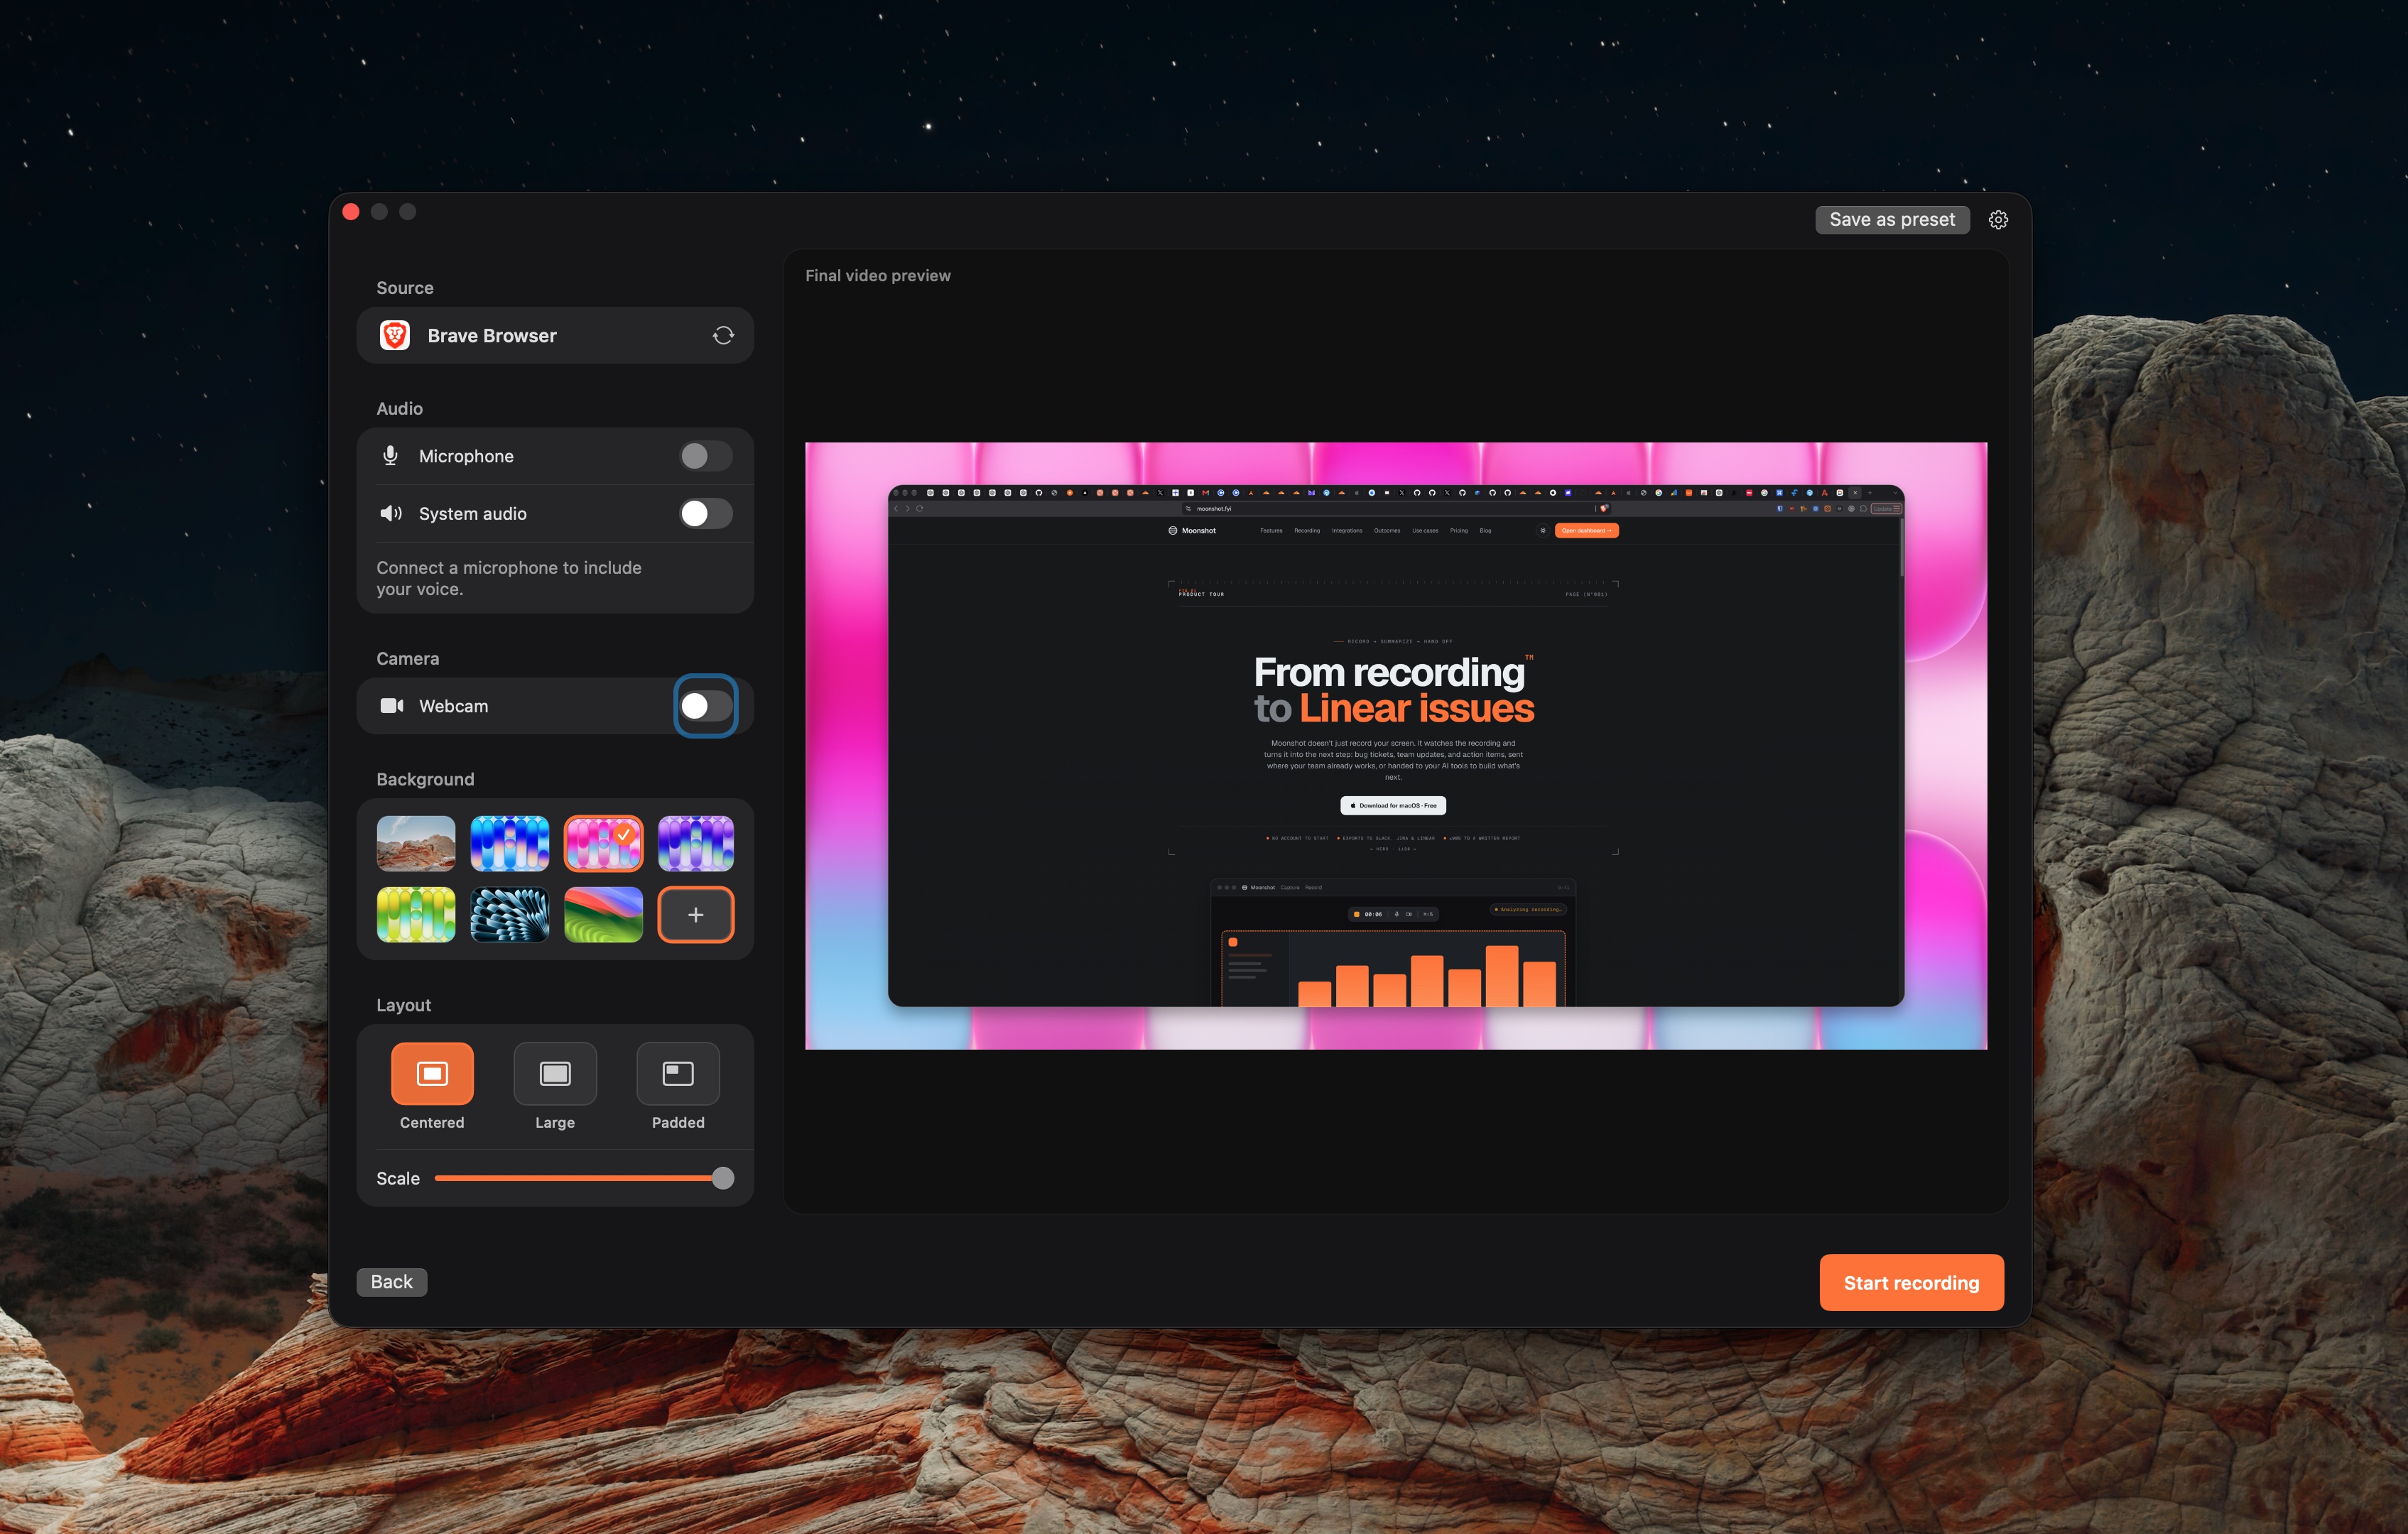
Use the built-in recorder for a local video. Consider Moonshot’s Mac recorder when you want a webcam, a share link or a transcript-based draft. Cloud sharing needs sign-in. Cloud AI actions require Pro or Team.
Compare Loom, Screen Studio and Moonshot if you need more than the built-in tools.